
Creating a connector
Create Connector opens a three-step wizard:- Select Class — pick the plugin. Filter by connector type (All / Source / Sink) and browse as cards or a compact list.
- Setup — configure it, in whichever mode suits you:
- Form view — a form generated from the plugin’s own config definition, grouped into collapsible sections with error badges per group.
- JSON editor — the raw config in an editor, for pasting an existing definition. Both modes run live validation against the Connect worker as you type — errors appear where they belong before you ever submit. You can also upload a config file.
- Verify — review the final JSON and Submit.
The connector detail page
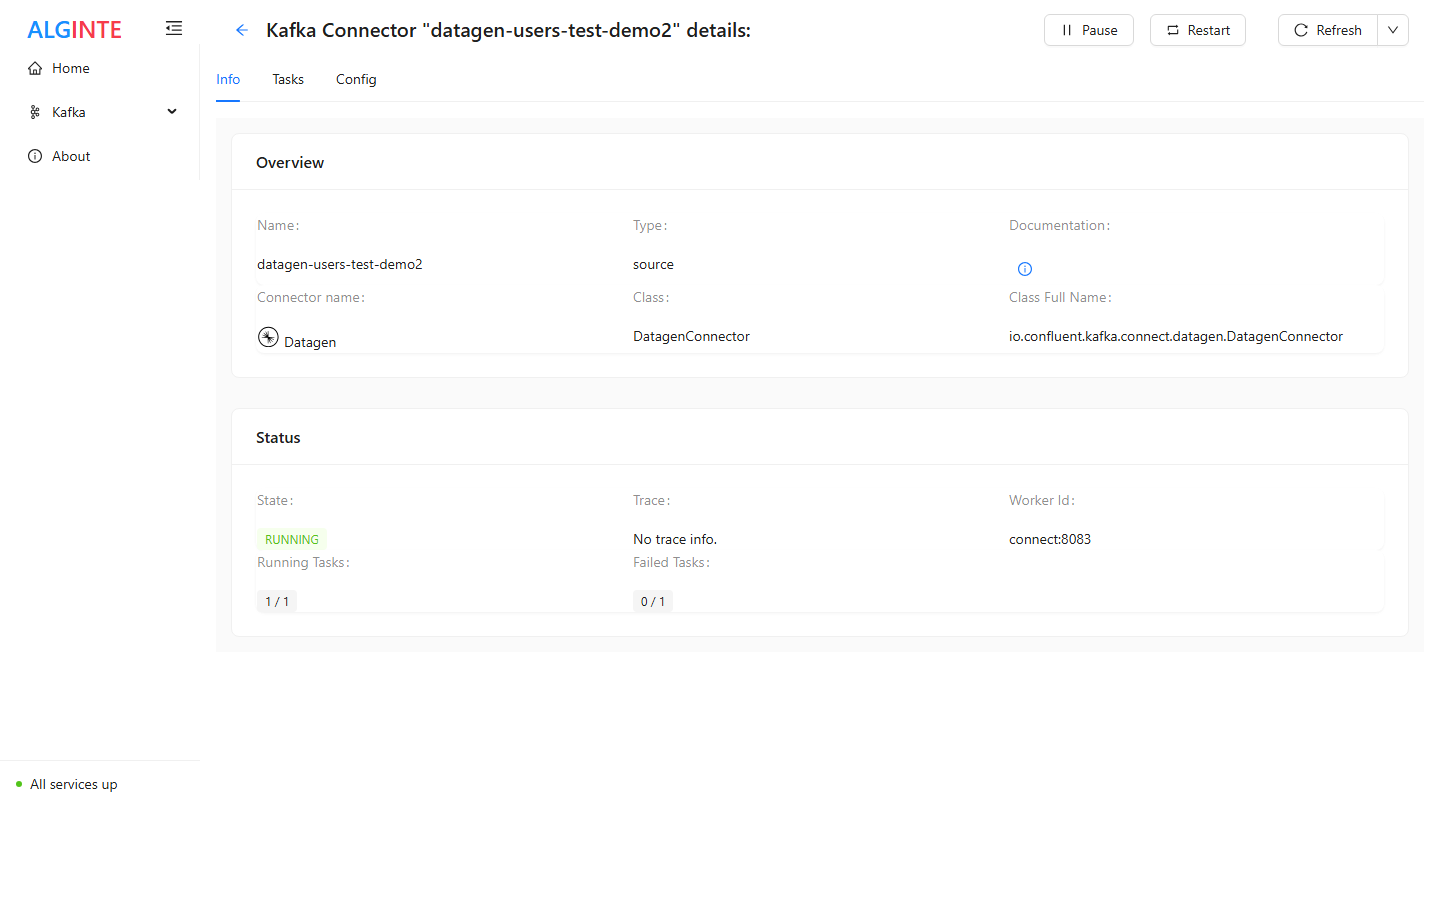
A running source connector: overview and status cards, task counts, and the state-adaptive actions.
- Info — the overview card (name, type, class, documentation link) and the status card: connector state, worker id, task counts — with a badge when tasks have failed, and the failure trace one click away.
- Tasks — every task with its state and worker, plus a per-task Restart action.
- Config — the connector’s configuration as JSON, with a Download button.
Operating a connector
The header actions adapt to the connector’s state:A failed task keeps its failure trace — check it (Info tab, failed-tasks
badge) before restarting, or you’ll likely just fail again for the same
reason.